Pipe preparation is a major operation in ensuring seamless integration and durability in any industry. Pipeline modifications, extensions, and maintenance are essential to have increased productivity. Pipe cutting and beveling machines play a vital role in preparing pipelines for accurate welding and installation operations.
The cutting-edge in-situ machines from Tritorc handle all such difficulties with ease. This guide explores the workings behind these machines, their operational steps, and the necessary considerations for achieving accurate pipe preparation in industrial assemblies.
Understanding Pipe Cutting and Beveling
Pipe cutting and beveling machines are specialized tools used to prepare pipes for welding by providing smooth, angled edges to ensure excellent quality of the weld. Beveling is the process of cutting the edge of a pipe at a specific angle to create a V-groove, J-groove, or compound bevel, which is essential for high-strength welded joints.
The key purposes of pipe beveling include:
- Ensuring proper fit-up for welding.
- Reducing welding defects like lack of fusion.
- Enhancing the mechanical strength of welded joints.
- Providing uniformity in pipe preparation.
Steps to Pipe Cutting and Beveling
Step 1: Preparing the Work Area
Before starting the pipe cutting or beveling process, ensure that the workspace is clean, well-lit, and free from obstacles. Proper safety precautions, such as wearing gloves, face shields/goggles, and protective gear, should always be followed.
Step 2: Securing the Pipe
- Position the pipe on a stable stand or clamp to prevent movement during machining.
- Ensure that the pipe is firmly held in place to avoid vibrations that could lead to inaccurate cuts.
- Check the alignment of the pipe to ensure it is perfectly placed as required for the operation.
Step 3: Assembling the Pipe Beveling Machine
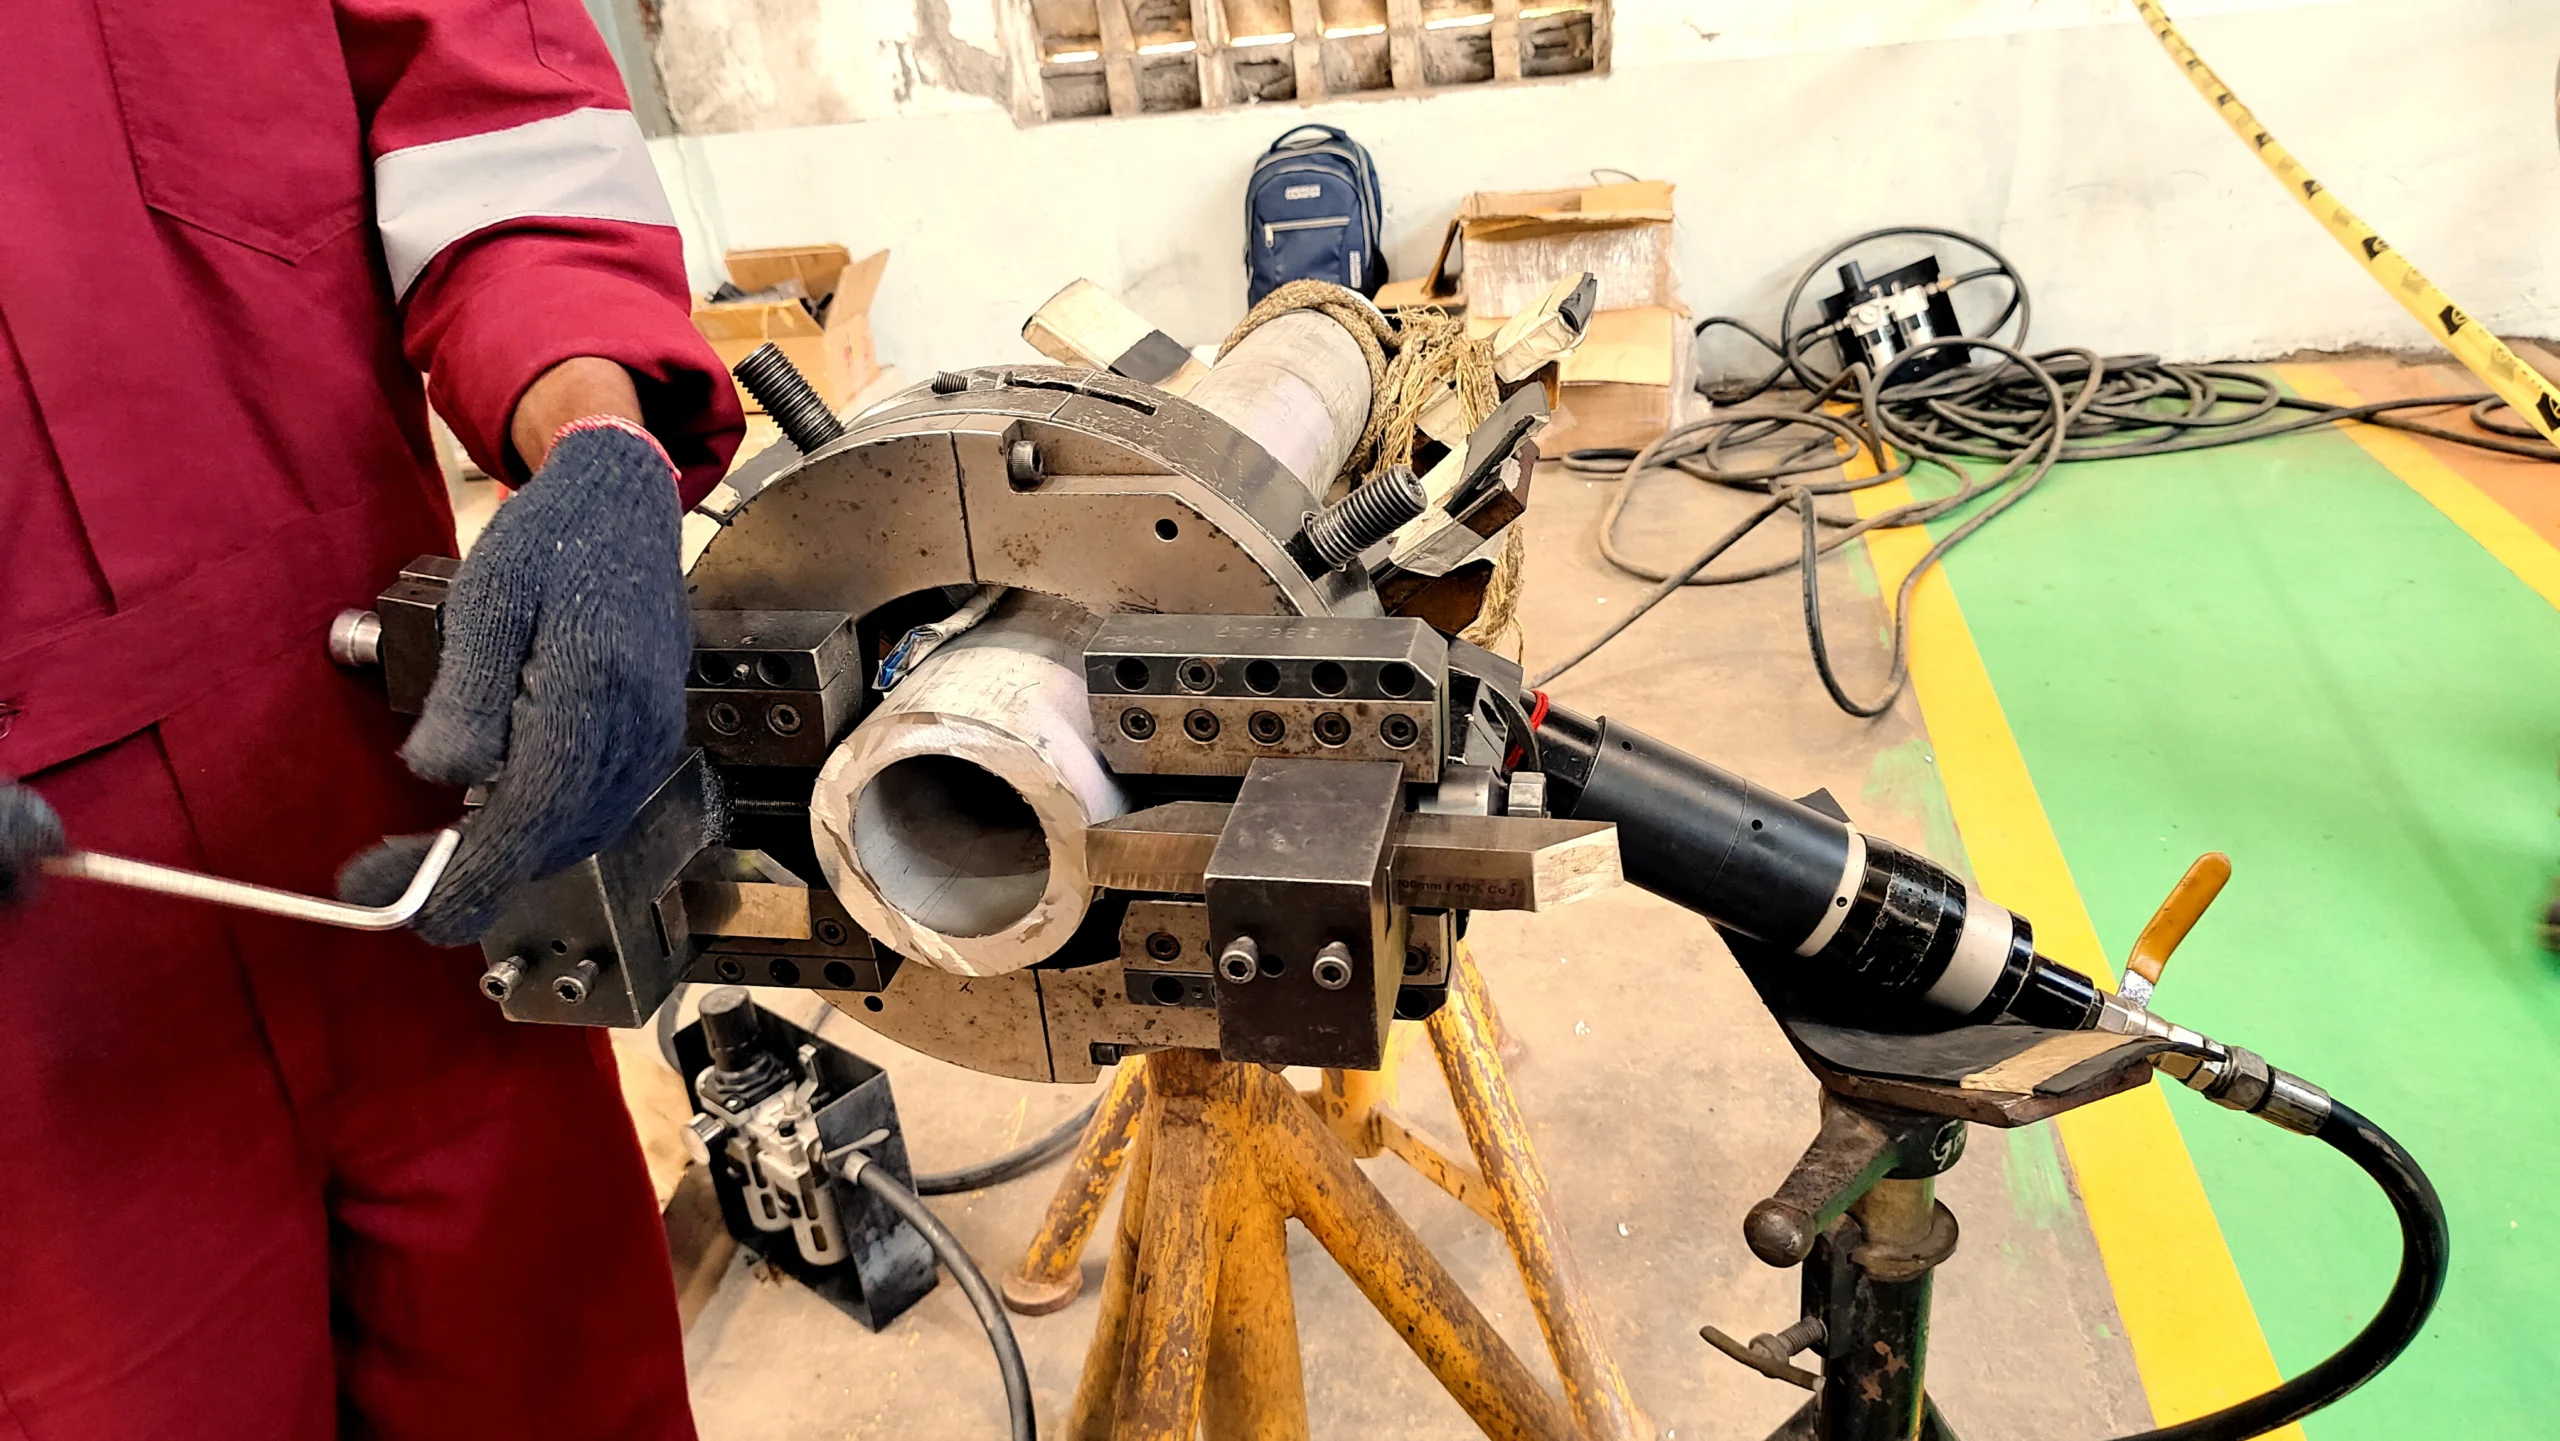
- Inspect the machine for any loose components or damage before installation.
- Mount the TSF Split Frame Machine over the pipe’s outer diameter (OD) at the point where the beveling or cutting is required.
- Secure the frame in place on the pipe with no unnecessary movement.
Step 4: Installing the Cutting Tool
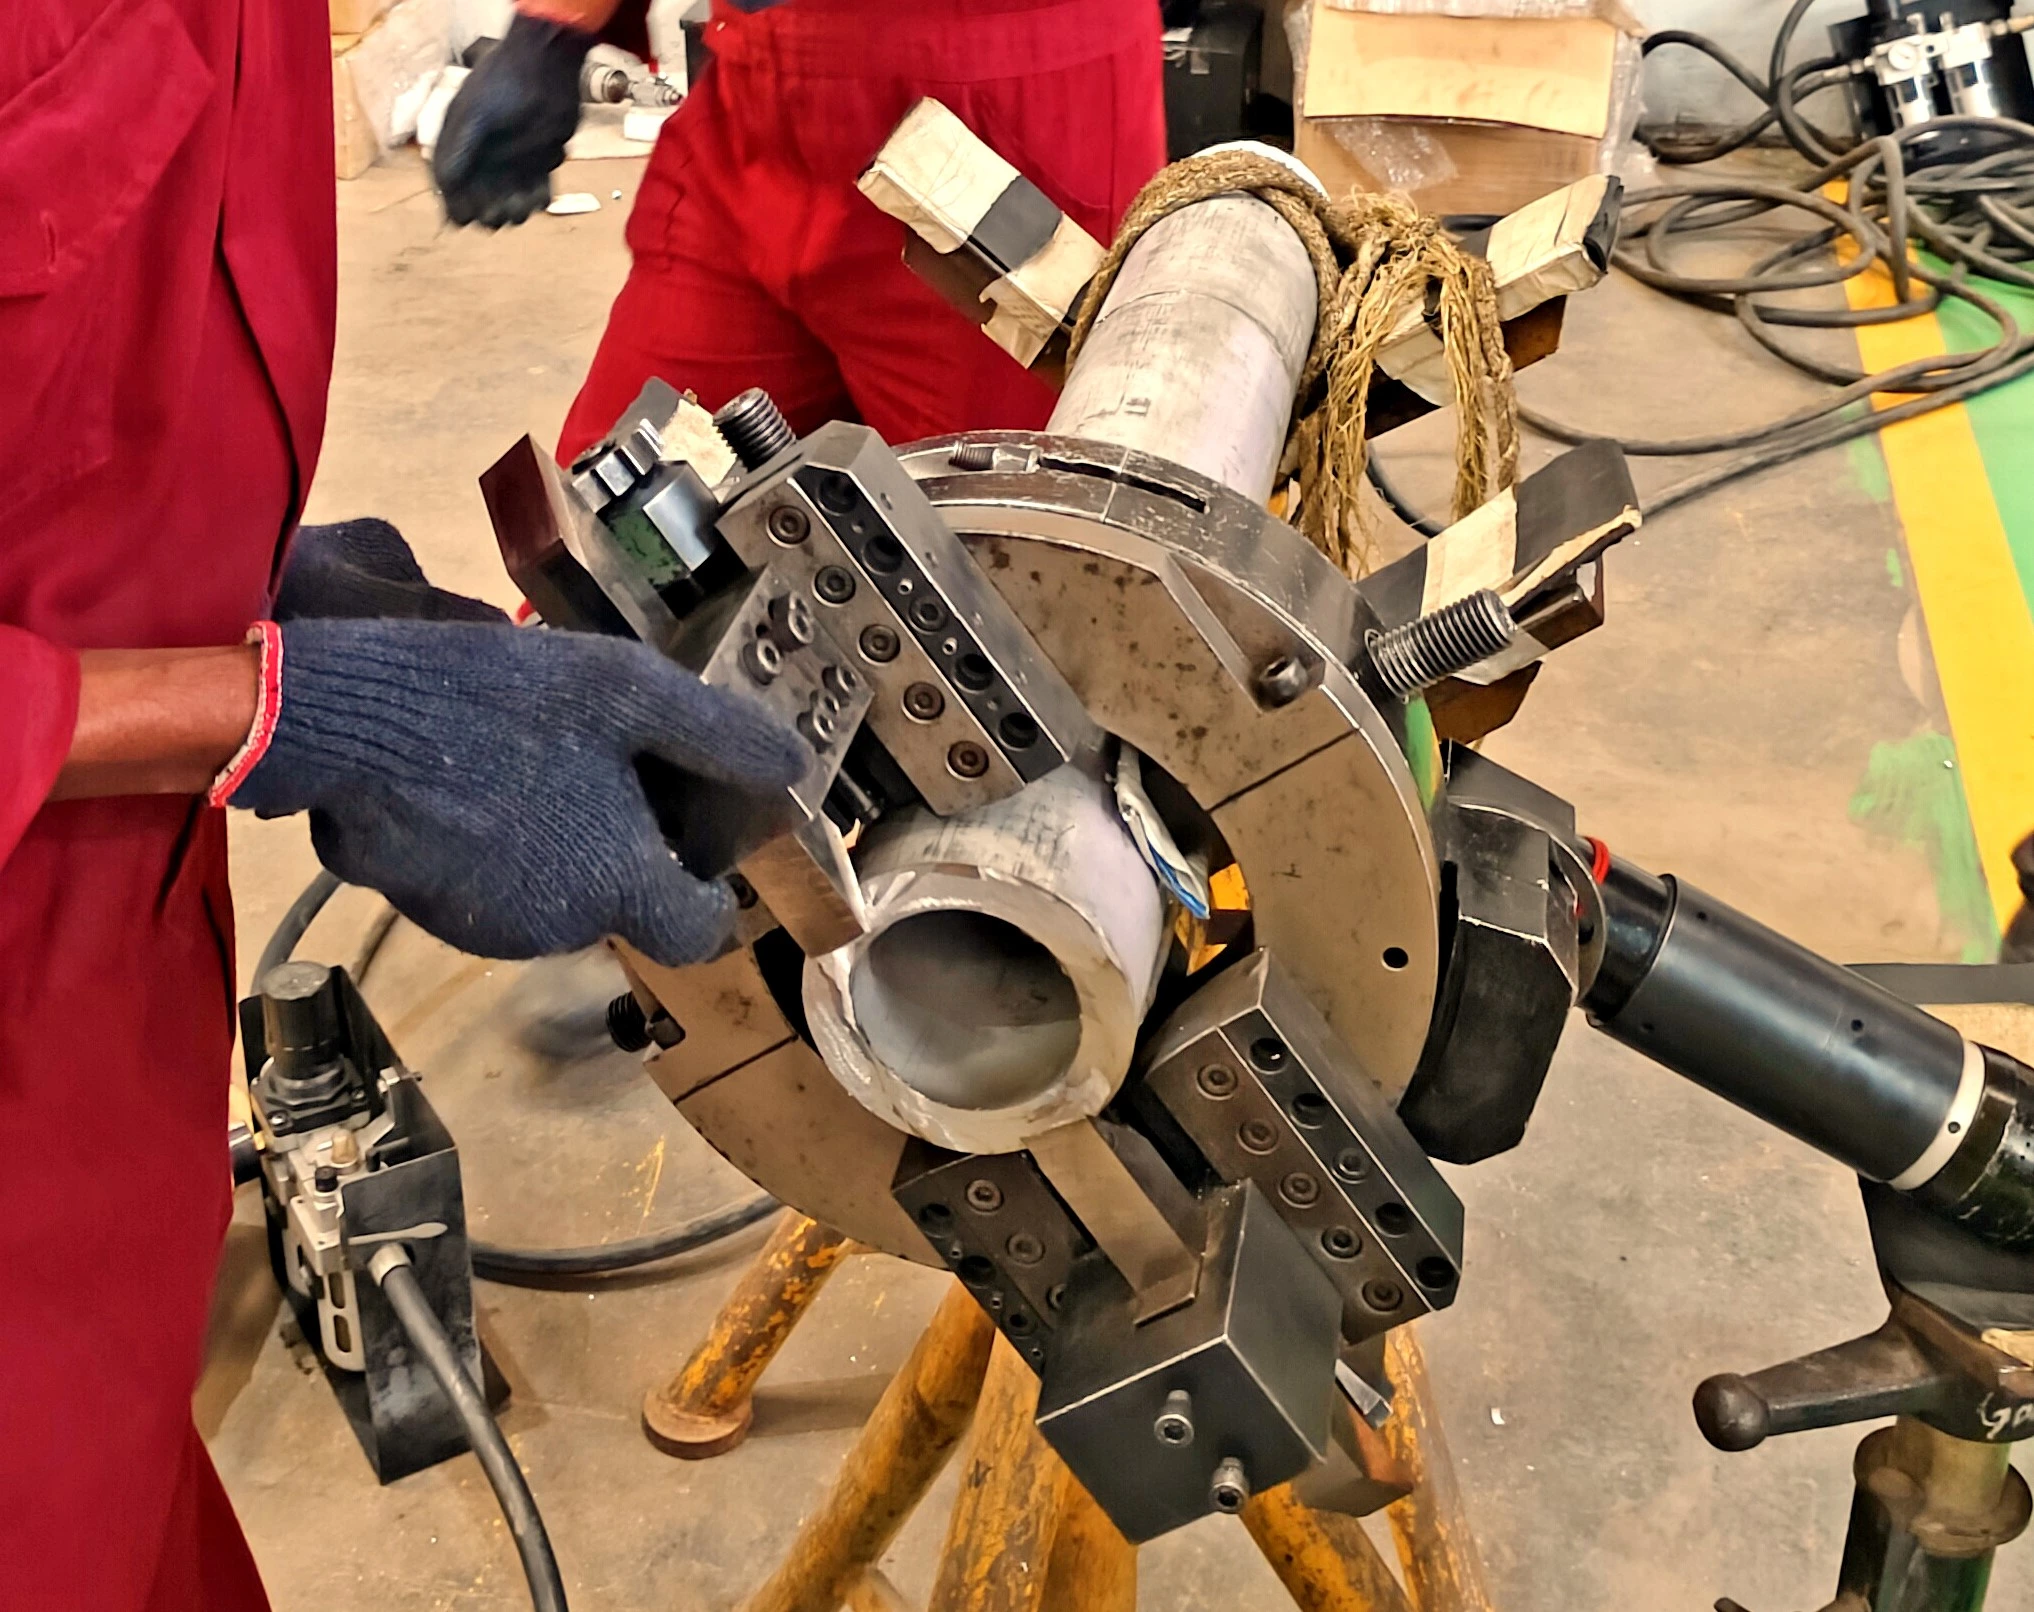
- Choose the appropriate cutting tool depending on the pipe material and beveling angle.
- Install the tool onto the tool post by firmly locking it in place.
- Adjust the tool’s position to properly align it with the pipe’s OD and ovality.
Ovality is the variation in the cross-sectional shape from a perfect circle, measured by the difference between the maximum and minimum outer diameters.
Step 5: Aligning the Machine
- Perform a dry run by powering the machine at a moderate speed, without engaging the cutting tool.
- Check the alignment and clearance between the cutting tool and the pipe and adjust the position if necessary.
Step 6: Initiating the Beveling Process
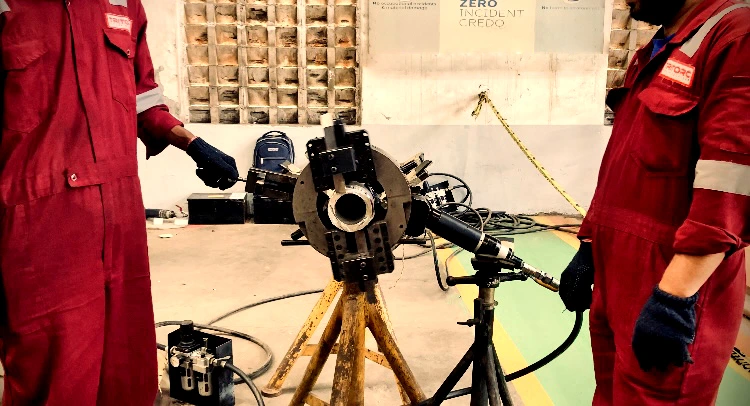
- Power up the machine and allow it to complete 2-3 idle rotations before engaging the tool.
- Slowly feed the cutting tool toward the pipe’s surface using the push button, bevel/cut with minimal feed to avoid excessive force and tool damage.
- Gradually increase the feed as the cut progresses and ensure smooth chip formation.
Step 7: Completing the Beveling Operation
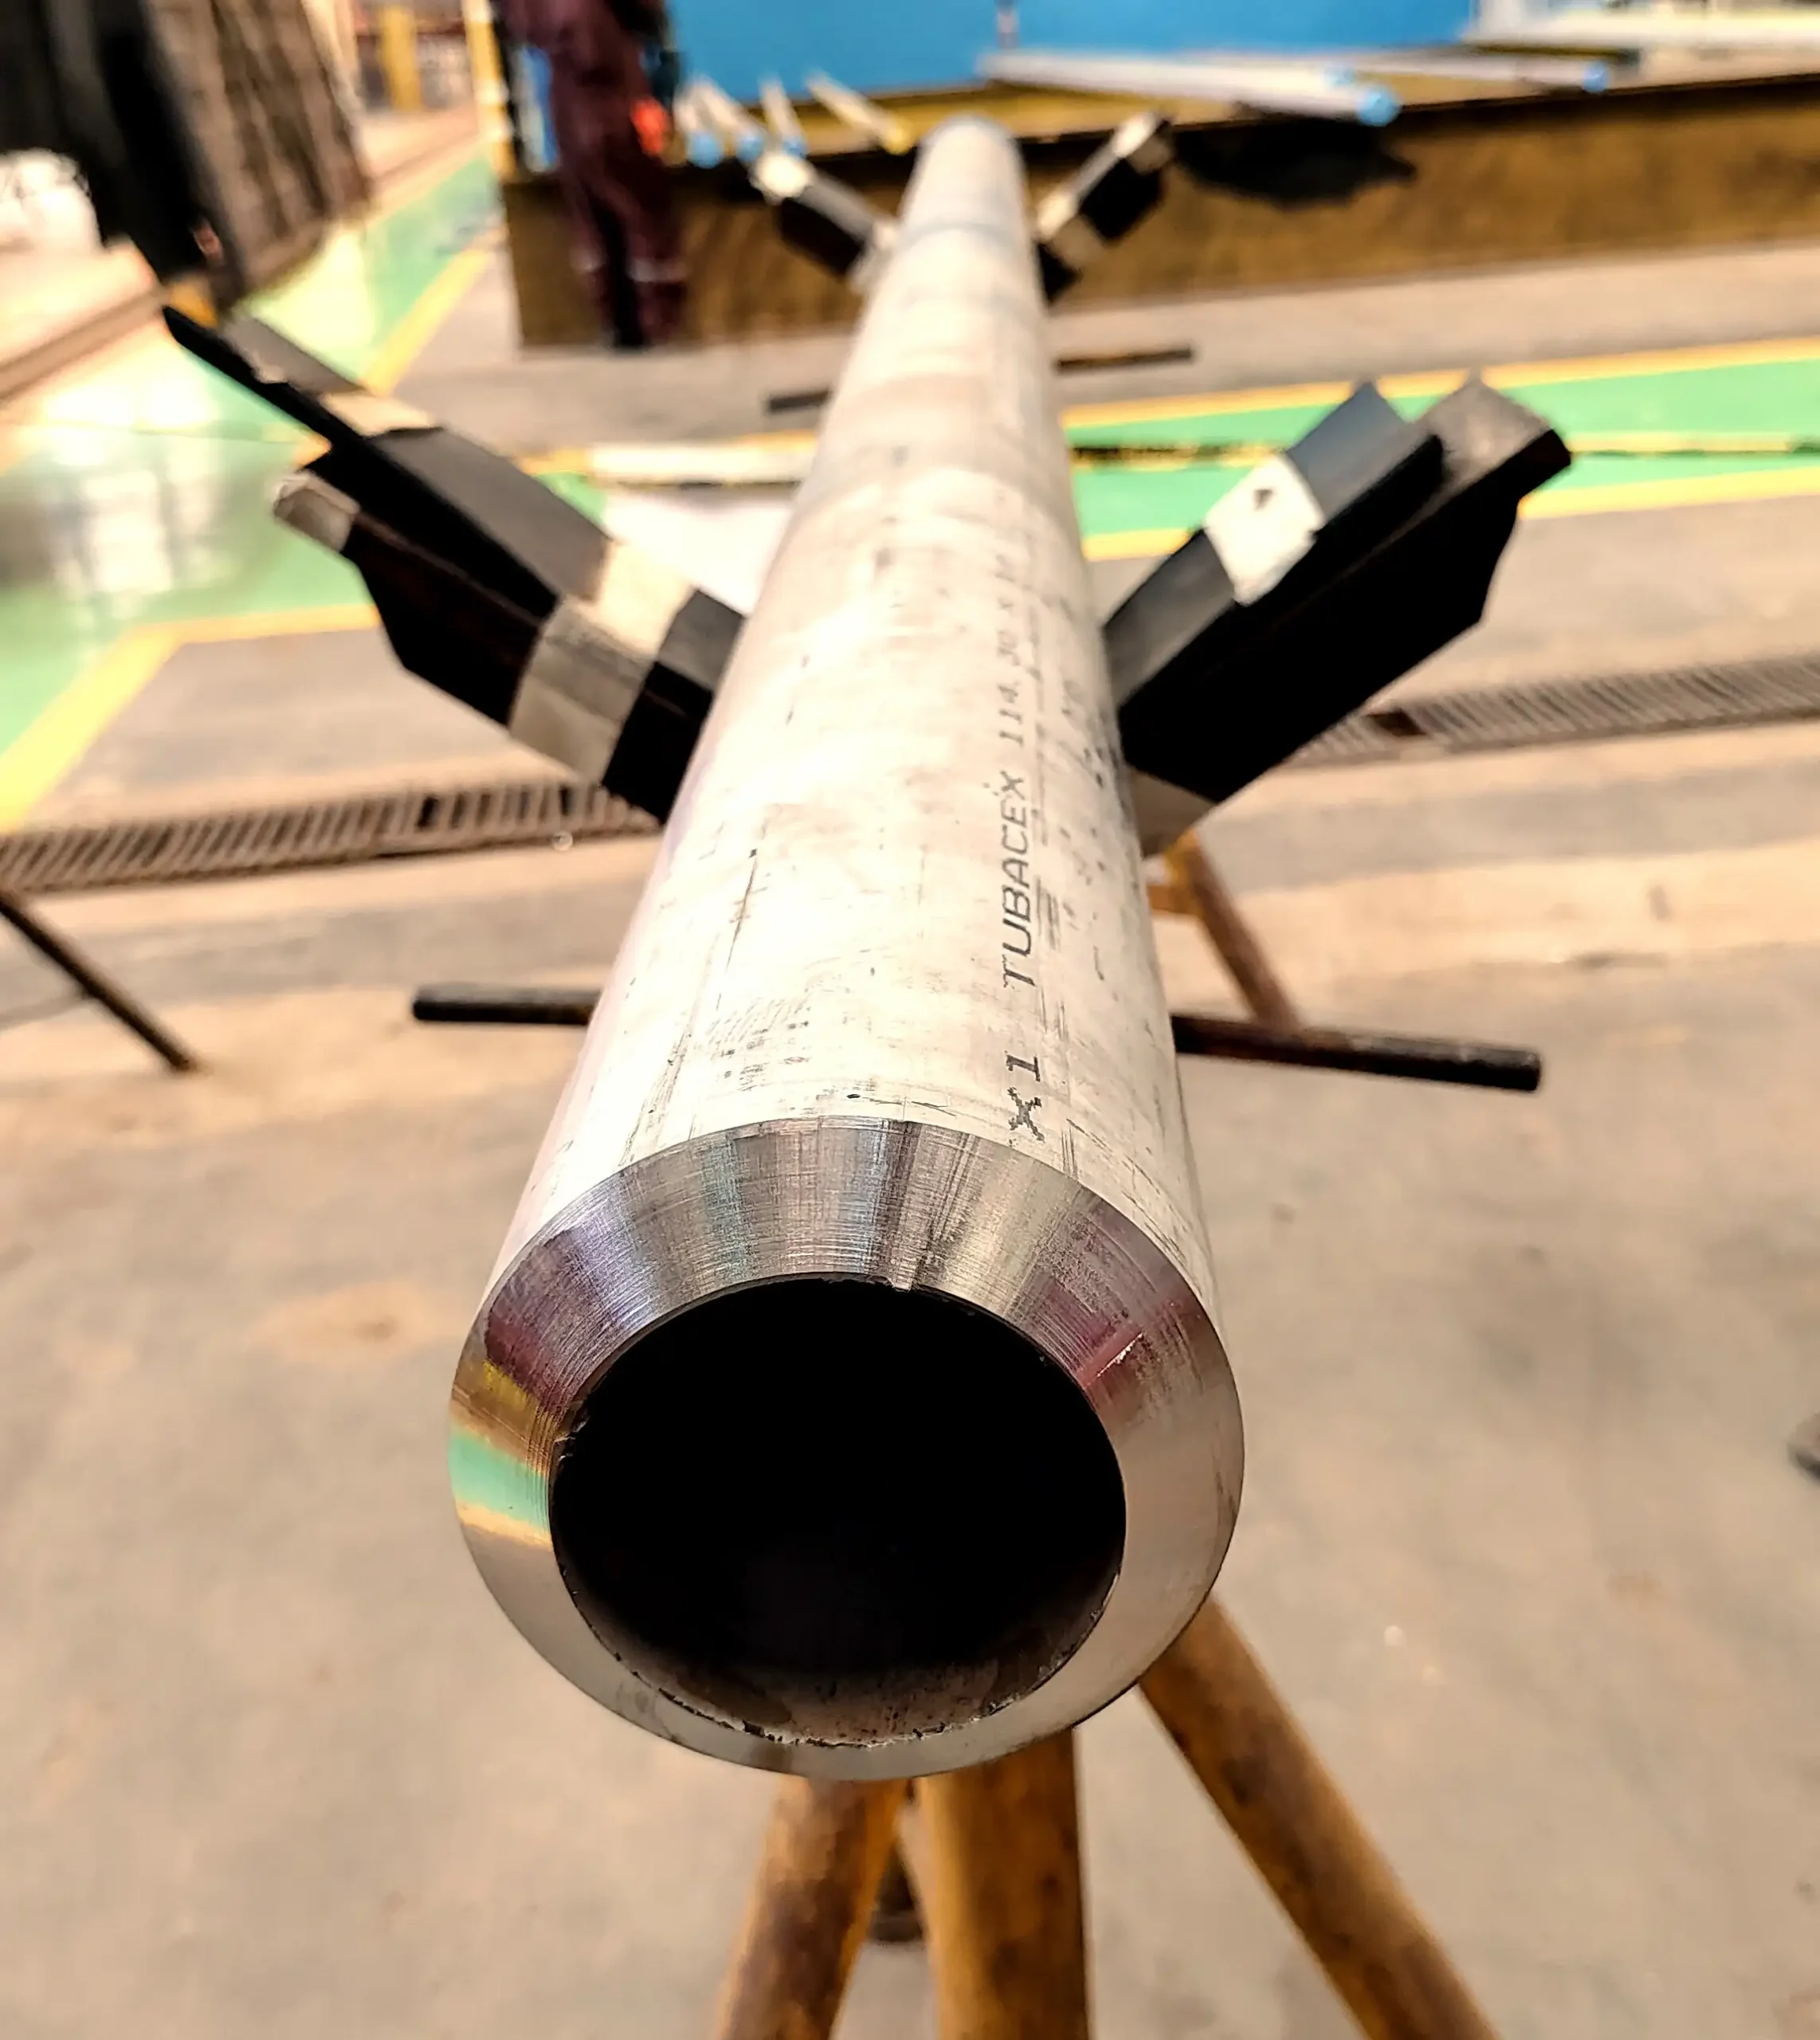
- Monitor the operation to ensure the desired beveling depth and angle.
- Stop the feed once the desired bevel depth is achieved, ensuring that the inner diameter (ID) of the pipe is not altered.
- Allow the machine to complete a few final rotations to ensure a smooth finish.
- Power off the machine and carefully retract the tool.
Step 8: Inspecting the Cut
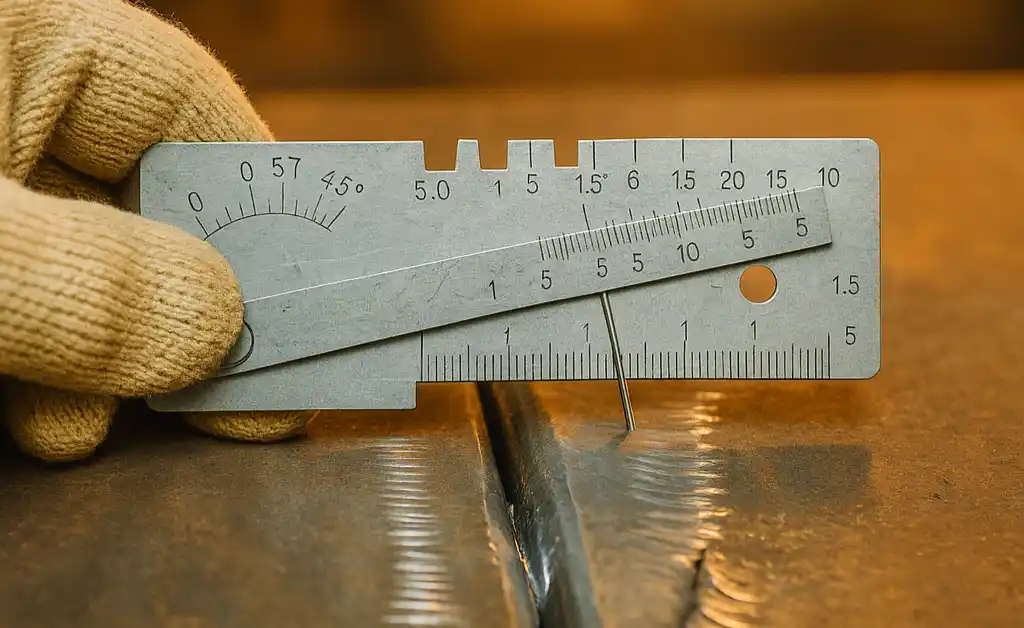
- Check the bevel angle and surface finish using measuring tools.
- Remove any burrs or sharp edges using a deburring tool if necessary.
Technical Data and Considerations
When selecting a pipe cutting and beveling machine, consider the following key factors:
1. Pipe Material and Thickness
- Different materials, such as carbon steel, stainless steel, Inconel, and titanium, require specific cutting tools.
- For tough materials like Inconel, the cutting tool must also be of a high grade.
2. Bevel Angle Selection
- Common bevel angles include 30°, 37.5°, and 45°, depending on the welding requirement.
- Compound bevels (J-groove or U-groove) may be required for high-pressure applications.
3. Machine Setup Time
- The average setup time for an experienced operator is 15-20 minutes.
- The machining time per pipe depends on its diameter and thickness, generally taking 15-20 minutes per beveling operation.
4. Minimum Pipe Length Requirement
- For a stable setup, the machine requires a minimum of 3–4 feet of pipe length. This is necessary to sustain the load of the TSF machine.
- For shorter pipes, an extension piece may be temporarily welded to provide space for machining.
Common Challenges in Cutting Operations
One of the common challenges in pipe cutting and beveling is tool wear and breakage, which occurs when substandard tools are used on tough materials that lead to failure. The solution is to use high-quality cutting tools or select tools based on the pipe material to ensure the safety of both the pipe and the cutting tool.
Another issue is pipe movement during machining, which can result in inaccurate cuts or even damage to the tool. To prevent this, ensure proper clamping and support stands for stability.
Additionally, overheating of pipe material sometimes becomes a major concern. Using high-speed cutting generates excessive heat, which sometimes softens the metal and affects the cut quality or may cut deeper than required. This issue can be prevented by using correct speed settings and applying cutting fluid when necessary.
Leave a Reply