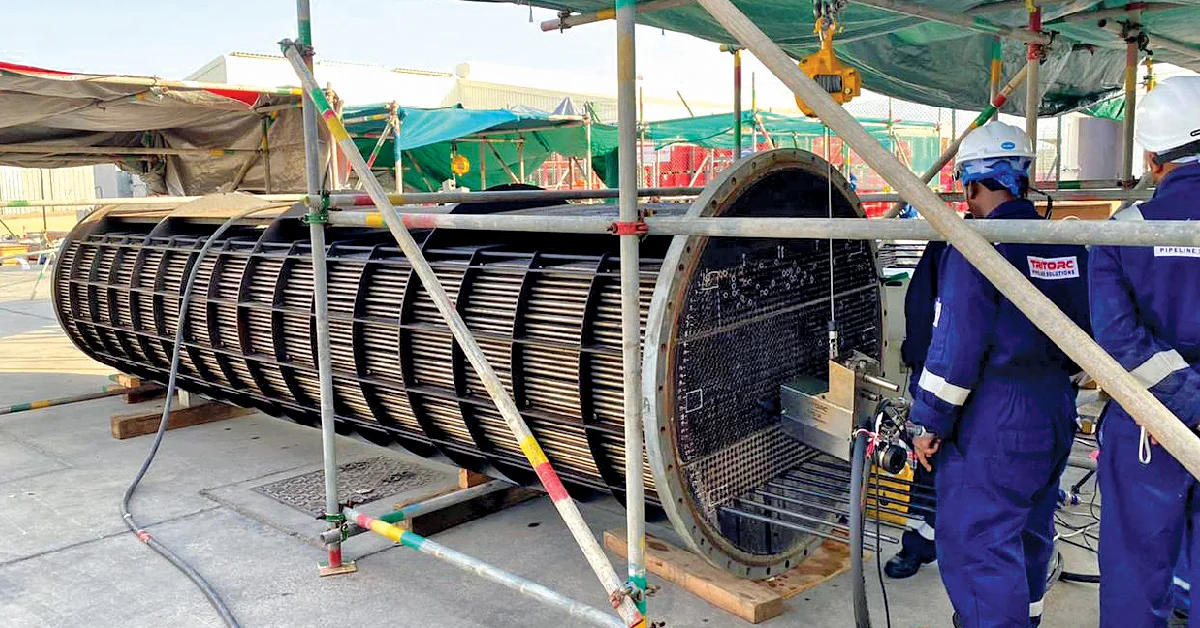
Retubing Heat exchangers are crucial in various industrial processes, and maintaining their efficiency is essential for smooth operations. One of the critical maintenance tasks is retubing, which involves removing and replacing the tubes. This blog will guide you through using a tube pulling system for retubing, considering the importance of proper tube installation and maintenance.
Understanding the Need for Retubing
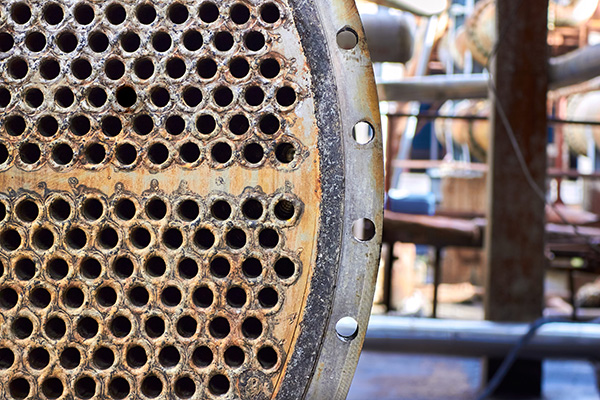
Heat exchanger tubes are subjected to continuous use, leading to wear and tear. Common issues include:
- Thermal stresses: Caused by temperature fluctuations.
- Leakages: From damaged tubes or faulty tube-to-tube sheet joints.
- Cross-contamination: Due to leaks, leading to feed water contamination.
- Scale deposit build-up: Affecting heat transfer efficiency.
- pH level of water: Corrosive effects on the tube material.
- Damaged tubes not only reduce efficiency but also pose safety risks. Thus, periodic inspection and retubing are crucial.

Step-by-Step Guide to Retubing Using a Tube Pulling System
- [1] Preparation:
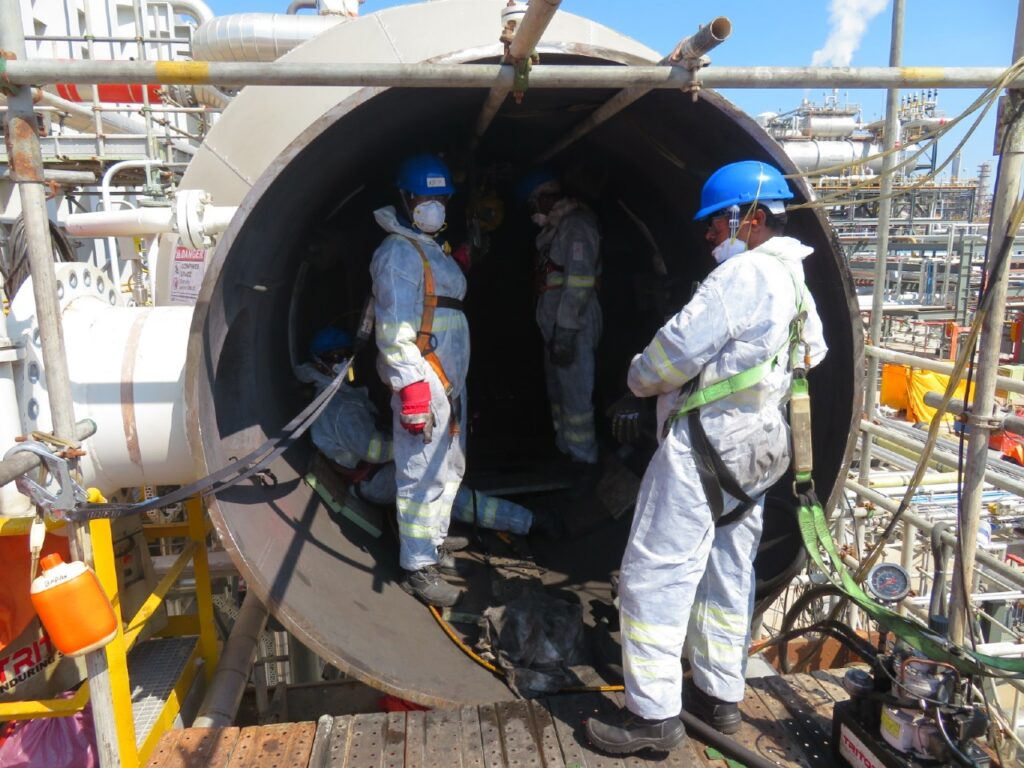
- Safety First: Ensure the heat exchanger is shut down and depressurized. Use appropriate personal protective equipment (PPE).
- Inspection: Identify tubes that need replacement using a tube leak detection system. This system works on vacuum loss detection, indicating leaks through a drop in pressure.
[2] Removing the Old Tubes
- Tube Sheet Hole Reaming: Ensure the tube sheet holes are clean and reamed to the required size.
- Grooving: If necessary, groove the tube holes using appropriate tools to facilitate tube removal.

[3] Using the Tube Pulling System
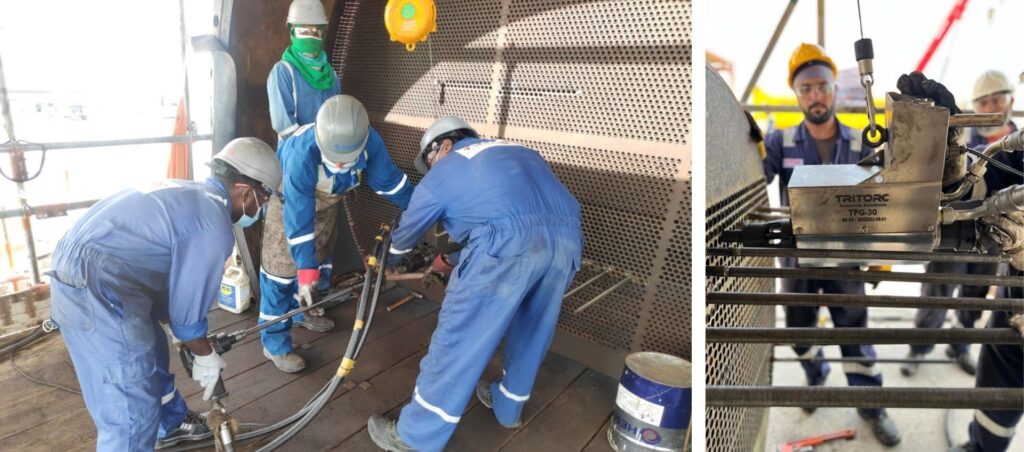
- Setup: Connect the tube pulling system to a power source. Modern systems often use pneumatic or hydraulic mechanisms for efficiency.
- Attachment: Attach the pulling tool to the tube to be removed. Ensure a secure fit to avoid slippage.
- Pulling the Tube: Activate the tube pulling system. The tool will grip the tube and pull it out of the tube sheet. Pneumatic systems are preferred where standard plant air supply is available for consistent performance.
- Inspection of Tube Sheet: After removing the tube, inspect the tube sheet hole for any damage or residue. Clean and ream if necessary to prepare for the new tube installation.
[4] Installing New Tubes
- Tube Insertion: Insert the new tube into the tube sheet hole. Ensure it fits snugly.
- Tube Expansion: Use an electric or hydraulic tube expansion system to expand the tube within the tube sheet. This ensures a tight fit and prevents leaks.
- Electric Tube Expansion: Preferred for precise control over the expansion process. Set the wattage and torque on the control panel to ensure uniform expansion.
- Flaring and Rolling: Reduce the length of the protruding tube end and use a flaring tube roller to flare and secure it onto the tube sheet.
[5] Post-Installation Checks
- Leak Detection: Use a tube leak detector to ensure there are no leaks in the newly installed tubes. The vacuum loss detection method will help identify any issues.
- Final Inspection: Perform a final inspection to ensure all tubes are securely installed and there are no leaks or defects.
Choosing the Right Tools
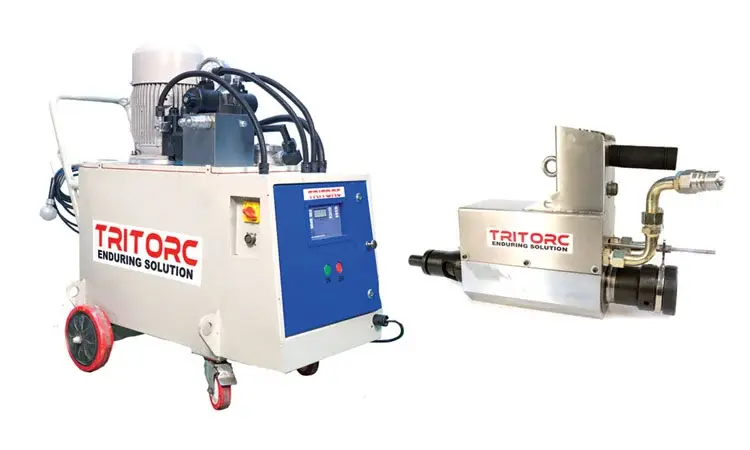
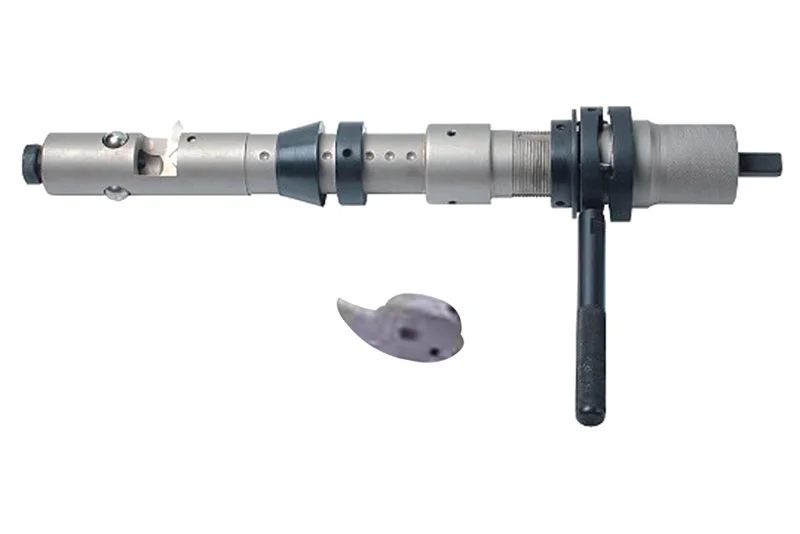
Selecting the correct tools for tube expansion and pulling is crucial for successful retubing. Tritorc offers a wide range of tools tailored to different tube materials, wall thicknesses, and diameters. Ensure you choose tools compatible with your specific requirements.
Conclusion
Retubing a heat exchanger is a meticulous process that demands precision and the right tools. By following the steps outlined above and using a reliable tube pulling system, you can ensure efficient and safe retubing. Regular maintenance and timely rewill enhance the performance and longevity of your heat exchanger, safeguarding both your equipment and personnel.
For detailed information on tube expansion machines and the latest prices, refer to Tritorc’s product brochure. Expect the best tools and support for your heat exchanger maintenance needs.

Leave a Reply